
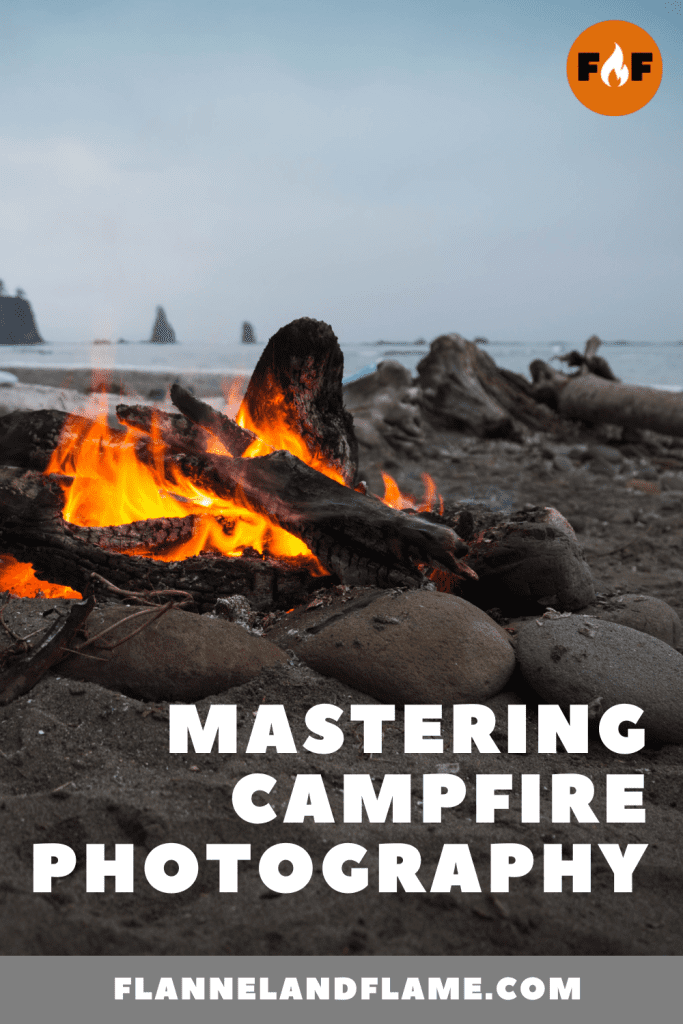
Mastering Campfire Photography: Tips for Stunning Shots
There’s something almost mystical about a campfire. The way the flames dance, the mesmerizing glow that bathes everything in warm light, the sparks that twirl up toward the stars—it’s a scene that begs to be captured. But if you’ve ever tried to photograph a campfire, you know it’s not as simple as pointing and shooting. Trust me, I’ve been there. My first attempts at campfire photography resulted in either washed-out flames or pitch-black surroundings, with nothing in between.
After years of trial and error (and quite a few singed eyebrows from getting too close with my camera), I’ve learned how to capture the essence of a campfire in all its flickering glory. Today, I’m sharing everything I know about photographing those magical moments around the fire pit—from basic settings to creative techniques that will elevate your outdoor photography game.
Campfire Photography: Capturing the Magic of Flames Under the Stars
Why Campfire Photos Matter
Think about it—the campfire is the heart of every outdoor adventure. It’s where stories are shared, marshmallows are toasted, and memories are made. A well-captured campfire photo doesn’t just record what the flames looked like; it preserves the feeling of being there.
Last summer, I spent a week hiking through the Rockies with friends. When we look back at the photos from that trip, it’s not the sweeping landscape shots that bring back the strongest memories—it’s the images of us gathered around the fire each night, faces lit by the warm glow, sharing tales of the day’s adventures.
The Basics: Equipment You’ll Need
Good news: you don’t need professional equipment to take stunning campfire photos. Here’s what I typically use:
- A camera with manual settings (even a smartphone with a “pro” mode will work)
- A tripod or stable surface
- A remote shutter release (optional, but helpful)
- A flashlight or headlamp (for focusing and light painting)
That’s it! No need for expensive lighting rigs or specialized gear. The campfire itself provides the most important element—beautiful, natural light.
Getting the Shot: Camera Settings for Campfire Photography
Finding the Sweet Spot for Exposure
Photographing fire presents a unique challenge: extreme contrast. The flames are intensely bright, while everything else is shrouded in darkness. Your camera’s automatic settings will either overexpose the fire (losing all those beautiful details in the flames) or underexpose everything else (leaving you with floating flames in a sea of black).
Here’s what works for me:
Start with these base settings:
- ISO: 400-800
- Aperture: f/4 to f/5.6
- Shutter speed: 1/15 to 1/60 second
Then adjust based on your specific scene. Want to capture the detail in the flames? Use a faster shutter speed. Want to include more of the surroundings? Lower your shutter speed and consider raising your ISO slightly, but be careful not to introduce too much noise.
I remember shooting at a beach bonfire in Oregon where the flames were particularly intense. By dropping to 1/125th of a second, I was able to capture individual tongues of fire licking up from the logs, revealing colors I hadn’t even noticed with my naked eye—blues and greens dancing alongside the oranges and reds.
Nailing the Focus
Focusing in the dark is tricky. The flickering nature of fire confuses most autofocus systems, leaving you with blurry, unusable images.
Here’s a trick: use your phone’s flashlight to illuminate something about the same distance from your camera as the fire (like a log or camping chair). Focus on that, then switch to manual focus to lock it in. This ensures your campfire remains crisp and clear.
White Balance: Embracing or Adjusting the Warmth
Campfires naturally cast a very warm light—typically around 2000K on the white balance scale. Your camera will often try to compensate for this, cooling down the scene and robbing your photos of that cozy, golden glow.
I usually set my white balance manually to “Tungsten” or “Incandescent” as a starting point, then adjust from there. Some cameras even have a “Candlelight” setting that works beautifully for campfires.
However, don’t be afraid to play with the white balance creatively. Sometimes a cooler setting can make the flames pop dramatically against a blue-toned background, creating a striking contrast.
Composition: Framing the Flame
A campfire offers endless compositional possibilities. Here are some of my favorites:
The Close-Up
Get in tight on the flames themselves. This is where you’ll reveal the incredible structures and colors hidden within the fire. Look for interesting shapes—maybe a log that’s just catching, with small blue flames crawling across its surface, or the heart of the fire where the heat is most intense.
For these shots, a slightly faster shutter speed helps freeze the intricate patterns without losing the sense of movement.
The Human Element
Some of my most cherished campfire photos include people gathered around the flames. The fire naturally illuminates faces with a flattering, warm glow that’s impossible to replicate with artificial lighting.
Position yourself to capture both the fire and your subjects. Silhouettes work beautifully, with figures framed against the bright flames. Or capture faces lit from below by the flickering light—an effect that’s wonderfully atmospheric (if sometimes a little spooky!).
On a camping trip in Yosemite, I snapped a photo of my friend Tom telling a story, gesturing with his hands. The fire lit just half his face, creating a dramatic split lighting effect that perfectly matched his suspenseful tale. That shot still hangs on my wall.
The Wider Scene
Don’t forget to zoom out and capture the fire in its environment. The contrast between the warm glow of the flame and the cool darkness of the surrounding landscape creates a compelling visual narrative.
For these wider shots, you might need to experiment with exposure blending or use graduated filters to balance the bright fire with the darker surroundings.
Advanced Techniques: Taking Your Campfire Photos to the Next Level
Once you’ve mastered the basics, try these techniques to create truly magical campfire images:
Light Painting
With your camera on a tripod and set to a long exposure (several seconds or more), use a flashlight to “paint” light onto elements around the fire. This allows you to illuminate tents, trees, or people in the background while still capturing the natural glow of the fire.
I once created a stunning shot at Joshua Tree by setting up a 15-second exposure and using my headlamp to gently illuminate the bizarre shapes of the Joshua trees surrounding our campsite. The fire remained the focal point, but the softly lit trees added depth and context.
Star Inclusion
If you’re camping under clear skies, why not include the stars in your campfire composition? Set up a longer exposure (15-30 seconds), raise your tripod to include the sky, and capture both the warmth of the fire and the cold glitter of the stars above.
You’ll need to be more careful with your exposure here—too long, and the fire will blow out completely; too short, and you’ll miss the stars. Finding that balance is challenging but rewarding.
Smoke Trails
Don’t ignore the smoke! With the right lighting and background, smoke trails can add an ethereal element to your campfire photography. Position yourself so the smoke is backlit by the fire or shoot during the “blue hour” just after sunset when there’s still some ambient light in the sky to illuminate the smoke.
A slightly longer exposure will help capture the flowing movement of smoke as it curls upward from the flames.
Spark Trails
Everyone loves those moments when someone stokes the fire, sending a shower of sparks spiraling upward. To capture this magic, set a slightly longer exposure (around 1/8 to 1/4 second) and get ready to trigger your shutter when someone pokes the fire.
The result? Beautiful orange trails arcing up from the flames like miniature fireworks. It might take several attempts to time it perfectly, but the results are worth it.
Common Challenges and How to Overcome Them
Challenge #1: Blown-Out Flames
Problem: The fire appears as a featureless white or yellow blob, with no detail in the flames.
Solution: Decrease your exposure. Try a faster shutter speed or lower ISO. Remember, you can always brighten the surroundings in post-processing, but once those flame details are gone, they’re gone for good.
Challenge #2: Too Much Smoke
Problem: Your campfire is smoky, obscuring the flames and creating a hazy image.
Solution: Wait for the fire to establish itself better, as most wood fires smoke less once they’re burning well. Or use the smoke creatively—try shooting through it for a diffused, atmospheric effect.
Challenge #3: Focusing Difficulties
Problem: Your camera keeps hunting for focus in the low light, and your images come out blurry.
Solution: Besides the flashlight trick mentioned earlier, try focusing manually on the brightest part of the flames. Or take advantage of the challenge—intentionally create some softness for a dreamier effect.
Challenge #4: Harsh Shadows on Faces
Problem: When photographing people around the fire, their faces show unflattering harsh shadows.
Solution: Position your subjects so the fire provides more even illumination, or use a small reflector (even a white paper plate will work!) to bounce some light back into the shadows. In post-processing, you can also gently lift the shadow areas to reveal more detail.
Post-Processing Tips for Campfire Photos
Even the best campfire photos often benefit from some thoughtful editing. Here are my go-to adjustments:
- Selective adjustments: Use radial or graduated filters to make different adjustments to the fire versus the surroundings.
- Recover shadow detail: Gently lift the shadows to reveal more of the scene without affecting the fire’s brightness.
- Enhance colors: Campfires contain a surprising range of colors. Slightly increasing saturation and vibrance can help these colors pop.
- Add a subtle vignette: Darkening the edges of the frame can enhance the feeling that the fire is the main light source in the scene.
- Consider black and white: While campfire photos are naturally colorful, sometimes a black and white conversion with enhanced contrast can create a powerful, moody image.
Ethical Considerations: Responsible Campfire Photography
Before I wrap up, a quick note on responsibility. As outdoor enthusiasts and photographers, we have a duty to protect the natural spaces we enjoy:
- Always follow local fire regulations and restrictions
- Use established fire rings where available
- Keep your fire reasonably sized—bigger isn’t better for photography
- Never leave your fire unattended, especially while you’re setting up camera equipment
- Ensure your fire is completely extinguished before you leave or go to sleep
Final Thoughts: It’s About More Than Technical Perfection
The most important thing to remember about campfire photography is that it’s not just about technical perfection—it’s about capturing the experience. Sometimes the slightly imperfect shot that captures the genuine joy of friends laughing around the fire is worth more than the technically flawless image that missed the moment.
My favorite campfire photo isn’t technically impressive. It’s slightly out of focus, the exposure isn’t perfect, and there’s definitely some noise in the shadows. But it captured the exact moment when my niece saw her first shooting star, her face lit by firelight, eyes wide with wonder as she pointed to the sky. That photo tells a story that no amount of technical excellence could improve.
So take your camera to your next camping trip. Play with these techniques, experiment with different approaches, and find your own campfire photography style. But most importantly, don’t get so caught up in getting the shot that you forget to enjoy the warmth of the fire, the company of friends, and the magic of being outdoors.
After all, the best photos are the ones that not only look good but also bring back the feelings of those perfect moments under the stars, gathered around the dancing flames of a campfire.
Happy shooting, and even happier camping!
More from Flannel & Flame…
- Mexican Bean SaladBold, zesty, and bursting with color, this Mexican Bean Salad is a side dish that brings the flavor anywhere you roam. A hearty mix of black, kidney, and cannellini beans comes together with crisp bell peppers, sweet corn, and red onion, all tossed in a citrusy vinaigrette loaded with fresh cilantro and just the right… Read more: Mexican Bean Salad
- Cheesy PotatoesGolden, gooey, and loaded with flavor, these Dutch Oven Cheesy Potatoes are a campfire favorite that never disappoints. Tender hash browns are layered with melted cheese, savory seasonings, and just the right amount of smoky goodness from the fire. Baked slow and steady in a Dutch oven, this comforting side dish is perfect alongside grilled… Read more: Cheesy Potatoes
- Alternatives to S’Mores: Sweet Twists and Campfire Treats You’ll CraveThere’s something undeniably magical about a gooey s’more melting between your fingers under a starlit sky. The way the chocolate gets just soft enough, the marshmallow smolders to a golden hue (or charred to a crisp, if that’s your thing), and the graham crackers give that perfect crunch — it’s the taste of summer, nostalgia,… Read more: Alternatives to S’Mores: Sweet Twists and Campfire Treats You’ll Crave
- Best Hiking in New YorkWilderness, waterfalls, and wonder from the Catskills to the Adirondacks New York might be synonymous with skyscrapers, yellow cabs, and a certain iconic skyline—but trust me, beyond the hustle of the city, the Empire State hides some of the most jaw-dropping trails in the Northeast. We’re talking misty mountaintops, mossy forests, gorges carved by ancient… Read more: Best Hiking in New York